Photo Capture User Guide
2. Open the project listing page
3. Click on the Edit listing option on the right of the listing page just below the logo.
4. Scroll down to the HDR Photos section and click on Photo Capture.
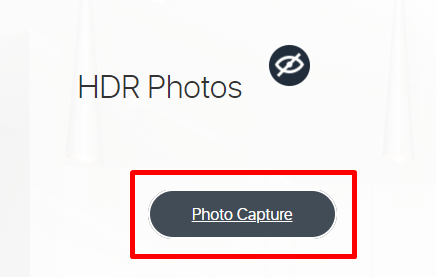
5. Photo Capture Tool will open in a new tab.
- Use the left-side navigation bar to select a floor. As soon as the floor is selected, on the right side of the interface, a minimap will appear to facilitate navigation:
- Select a room and proceed with a spin for capturing:
- Adjust the aspect ratio and capture angle by using the middle mouse wheel (or two fingers on a trackpad) to zoom in and out before hitting 'Capture' button:
6. Captured photos will appear at the bottom portion of the interface.
- Use the 'Expand' button for a better view. For photos you want not to be shown on the listing page, click on the 'Hide blacklisted' checkbox and select photos to be hidden:
7. Photos will be auto-arranged according to rooms they were captured in.
- To change the sequence, use the "Arrange images' button. Press and hold to move as to adjust photo order:
We will be happy to assist with any questions or concerns you might have.
Best Regards,
InsideMaps Customer Support Team